Installing Senaite Open Source Laboratory System on Ubuntu 22.04.3 LTS
Steps I Went Through
These are steps I went through in installing Senaite on Ubuntu 22.04.3 LTS. I modified small detail of this great documentation about installing Senaite on Ubuntu 18.04 by Tim Wangwe.
I used freshly installed desktop version with minimal installation option of Ubuntu 22.04.3 LTS because it is currently the newest LTS and still have Python 2.7.18 available in its default repository.
Create User
First, open terminal, login as root and create senaite user. Please make sure you add senaite to sudo group. Don’t repeat my mistake, I had to add senaite to sudo group after failing to install system dependencies in the next steps below.
user@ubuntu22:~$ sudo su
root@ubuntu22:~# whoami
root
root@ubuntu22:~# sudo adduser --home /home/senaite --shell /bin/bash senaite
root@ubuntu22:~# sudo adduser senaite sudo
root@ubuntu22:~# sudo su - senaite
senaite@ubuntu22:~$ whoami
senaite
Create Virtual Environment
Install Miniconda
I used Miniconda as virtual environment. Agree to the user agreement and accept all the default. Make sure you answer yes in the last step to initialize conda. You will subsequently see that you enter the base environment.
senaite@ubuntu22:~$ wget https://repo.anaconda.com/miniconda/Miniconda2-latest-Linux-x86_64.sh
senaite@ubuntu22:~$ bash /home/senaite/Miniconda2-latest-Linux-x86_64.sh
senaite@ubuntu22:~$ source /home/senaite/.bashrc
(base) senaite@ubuntu22:~$
PS. If you answer no in the conda init step (like me), don’t worry! You can use command below to initialize it later.
senaite@ubuntu22:~$ eval "$(/home/senaite/miniconda2/bin/conda shell.bash hook)"Setup Conda Environment
Set Miniconda to use Python 2.7 as required by Senaite LIMS.
(base) senaite@ubuntu22:~$ conda create --name senaite python=2.7
(base) senaite@ubuntu22:~$ conda activate senaite
(senaite) senaite@ubuntu22:~$
Dependencies Installation
Inside senaite environment install all system dependencies. You might have some packages installed already.
(senaite) senaite@ubuntu22:~$ sudo apt update
(senaite) senaite@ubuntu22:~$ sudo apt install build-essential
(senaite) senaite@ubuntu22:~$ sudo apt install python2.7 python2.7-dev
(senaite) senaite@ubuntu22:~$ sudo apt install libxml2 libxml2-dev libxslt1.1 libxslt1-dev
(senaite) senaite@ubuntu22:~$ sudo apt install libffi-dev libcairo2 libpango-1.0-0 libgdk-pixbuf2.0-0 libpangocairo-1.0-0 libgdk-pixbuf2.0-0
(senaite) senaite@ubuntu22:~$ sudo apt install zlib1g zlib1g-dev libjpeg-dev
Plone Unified Installer Installation
Install Plone Unified Installer from source. Download Plone Unified Installer version 5.2.11 as required by current version of senaite.lims (version 2.4.1). Extract it, enter directory, and run install.sh. Make sure you use Python 2.7 from Miniconda using --with-python argument otherwise system will complain of unable to find Python 3.8 (which we don’t want to use) on system path. You can change the password to your liking, you will use it to access Senaite site later. Here, I use admin123.
(senaite) senaite@ubuntu22:~$ wget --no-check-certificate
https://launchpad.net/plone/5.2/5.2.11/+download/Plone-5.2.11-UnifiedInstaller-1.0.tgz
(senaite) senaite@ubuntu22:~$ tar -xf Plone-5.2.11-UnifiedInstaller-1.0.tgz
(senaite) senaite@ubuntu22:~$ cd Plone-5.2.11-UnifiedInstaller-1.0
(senaite) senaite@ubuntu22:~$ which python
/home/senaite/miniconda2/bin/python
(senaite) senaite@ubuntu22:~$ ./install.sh standalone --target=/home/senaite --instance=senaitelims --password=admin123 --with-python=/home/senaite/miniconda2/bin/python
Senaite Installation
After Plone Unified Installer successfully installed, it is time to set in to enable senaite.lims installation.
Prepare buildout.cfg
Prepare Plone to get senaite.lims as its addons. Modify buildout.cfg generated during Plone installation above.
(senaite) senaite@ubuntu22:~$ cd /home/senaite/senaitelims
(senaite) senaite@ubuntu22:~$ vi buildout.cfg
Add senaite.lims and simplejson in the eggs subsection of buildout section in buildout.cfg. Your eggs subsection should look similar to this. No other parts of buildout section need to be altered.
[buildout]
#
eggs =
    Plone
    senaite.lims
    simplejson
#
You should also modify version section of buildout.cfg. Your version section should look similar to this. Make sure you leave the zc.buildout and setuptools empty. We will set them later.
[versions]
zc.buildout =
setuptools =
Pillow = 5.1.0
cssselect2 = 0.2.2
soupsieve = 1.9.5
# other pins not in plone
plone.recipe.unifiedinstaller = 5.2b1
buildout.sanitycheck = 1.0.2
collective.recipe.backup = 4.1.0
Select Correct Version of setuptools and zc.buildout
Create requirements.txt with content below to enable us select correct version of setuptools, zc.buildout, and pip. You can find required versions of setuptools and zc.buildout from senaite.core source code in GitHub.
setuptools==44.1.1
zc.buildout==2.13.3
pip==1.9.3.1
After requirements.txt is saved correctly, let’s get the correct version of setuptools, zc.buildout, and pip!
(senaite) senaite@ubuntu22:~$ pip install -r requirements.txtInstall Senaite
At last, you are now ready to install Senaite. Use command below to install it!
(senaite) senaite@ubuntu22:~$ PYTHONHTTPSVERIFY=0 buildoutAccess in Browser
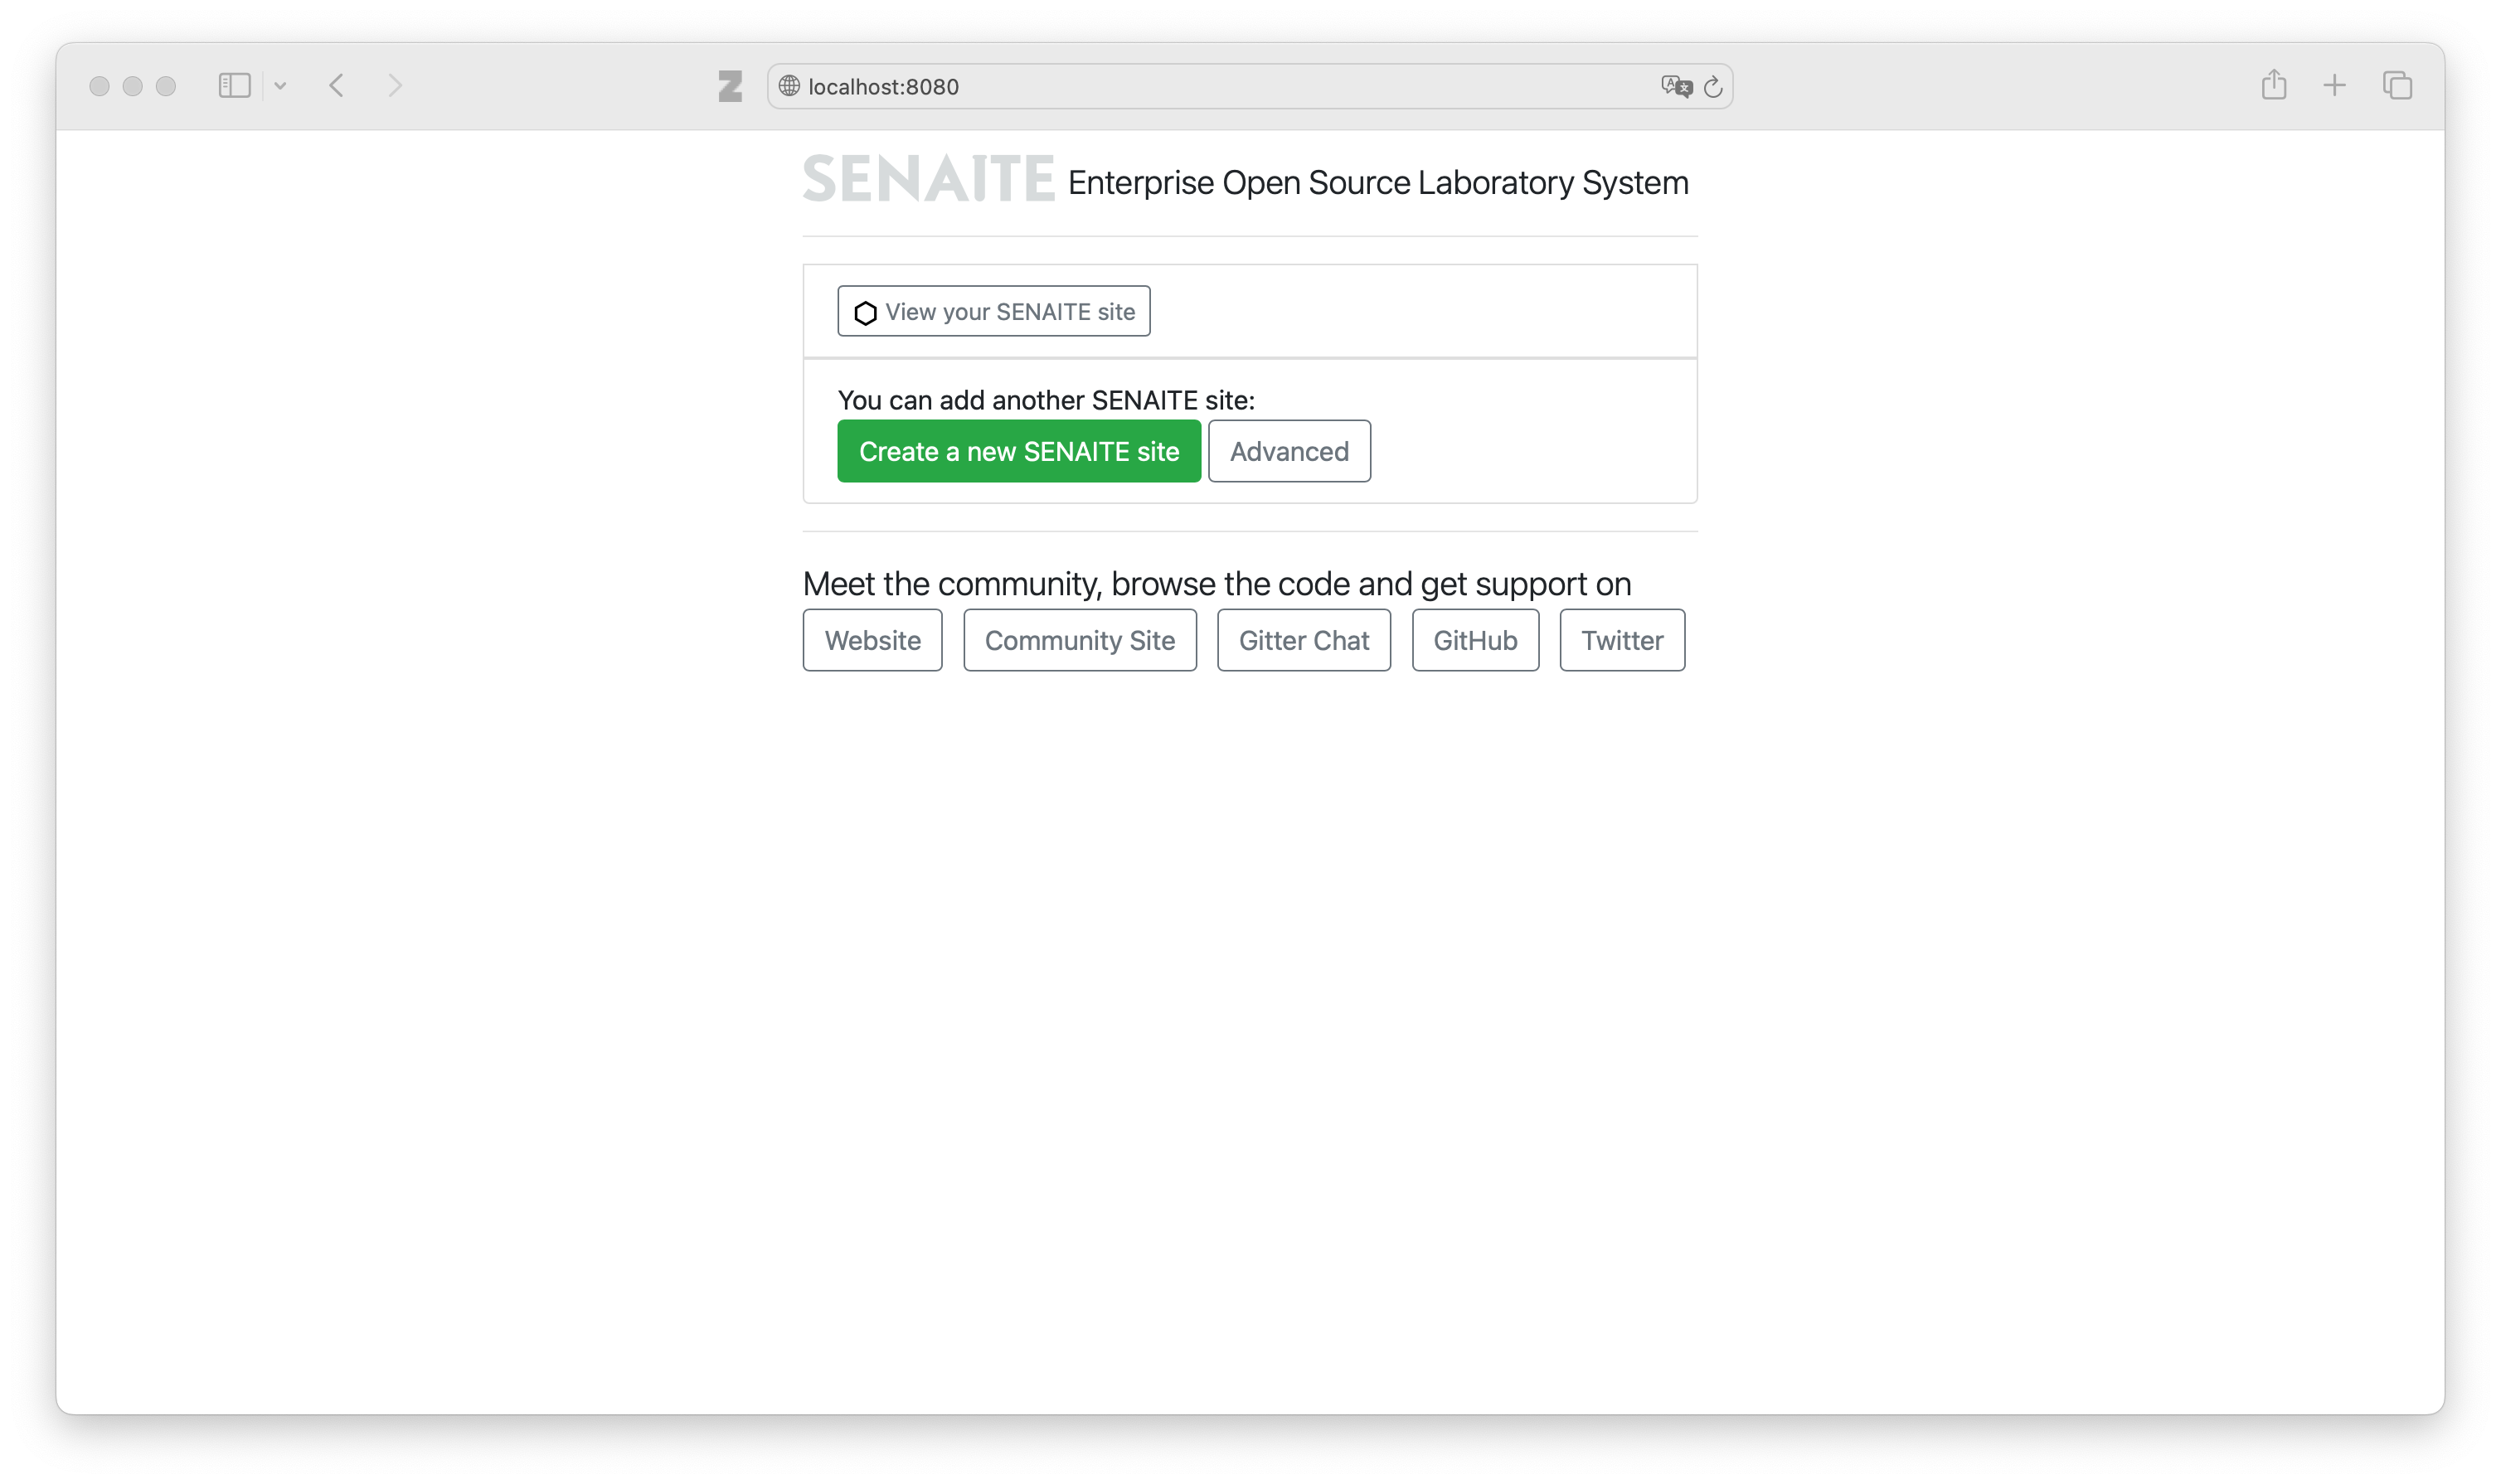
You can now access Senaite in browser using http://localhost:8080 using username admin and password admin123 (or your chosen password).
Create a new Senaite site and enjoy!